
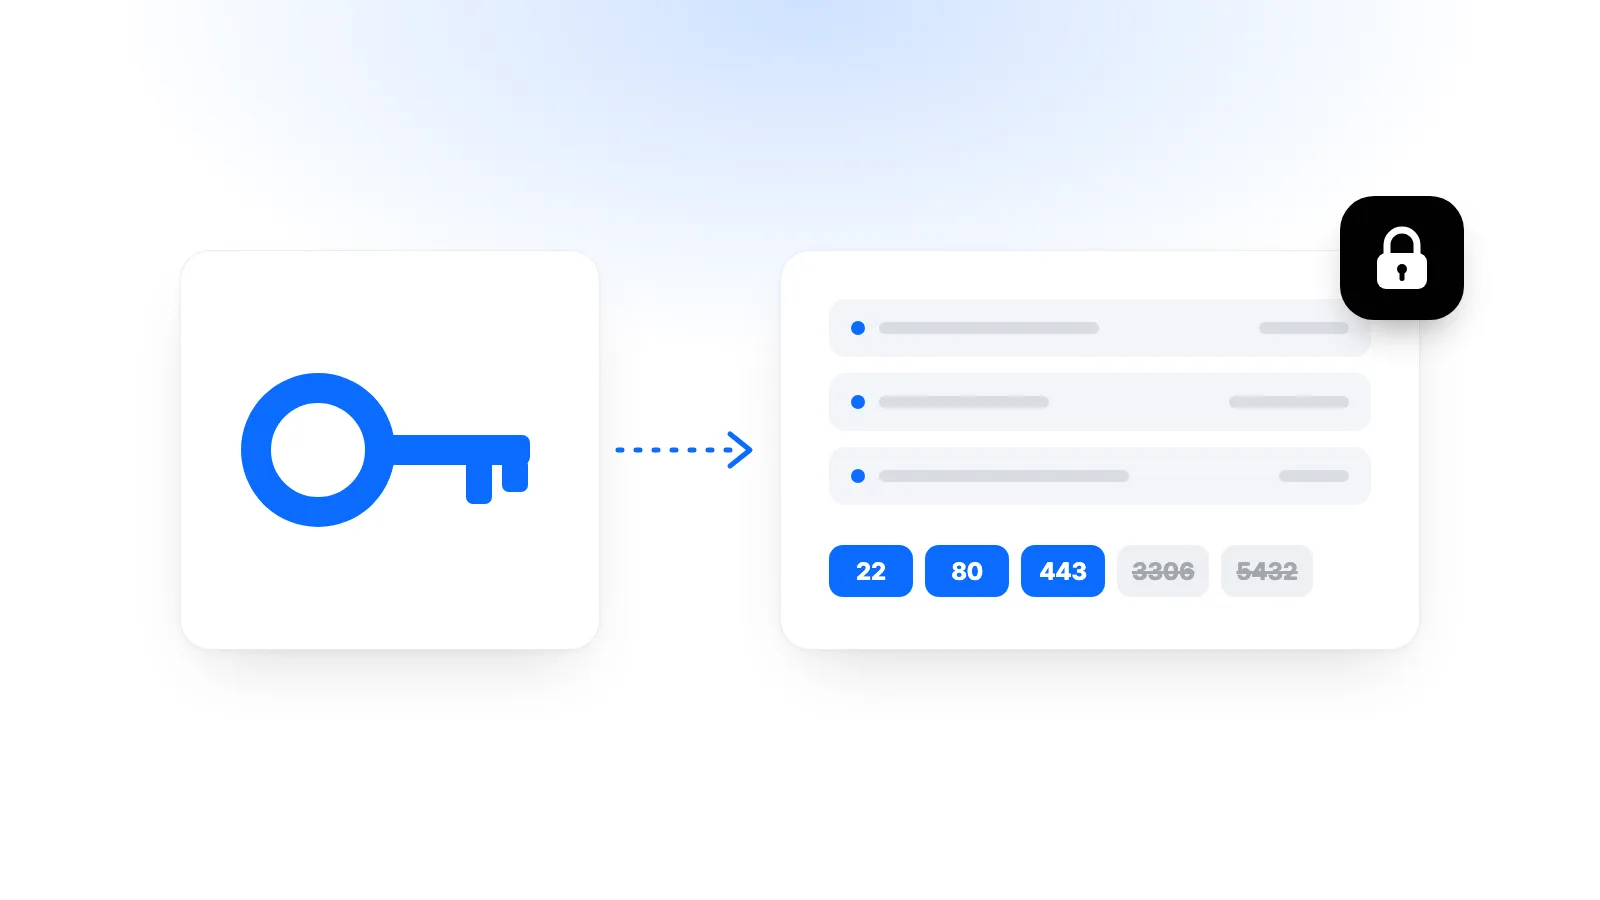
A new cloud server is on the internet the moment it boots. Even before you install a website, automated scanners will start probing its open ports and trying common passwords. Nothing personal is going on here: every address on the internet gets scanned regularly.
The good news is that a handful of simple settings in the first hour shut down most of these common attacks. This guide walks through which steps to take on a fresh Linux server and in what order, with the commands you need. The examples use Ubuntu and Debian, and we point out where AlmaLinux and Rocky Linux differ.
Before You Start: Don't Lock Yourself Out
Most security settings touch your SSH connection, and a single configuration mistake can leave you unable to log back in. Two rules help:
- Keep your current SSH session open while you make changes. After each change, open a new terminal window and try to connect. Only close the old session once the new connection works.
- Take a backup or snapshot before any major change. If something goes wrong, you can roll back instead of rebuilding the server from scratch.
1. Update the System
Operating system images are built on a particular date, so a new server may be missing security patches released since then. Install updates first:
apt update && apt upgrade -y
On AlmaLinux or Rocky Linux:
dnf upgrade -y
If the update included a new kernel, reboot once (reboot). On Ubuntu, the file /var/run/reboot-required appears when a restart is needed.
2. Log In With an SSH Key
Password logins are the most common target. Scanners cycle through popular usernames and passwords over and over. An SSH key relies on a secret file far too long to guess.
If you don't have a key yet, create one on your own computer:
ssh-keygen -t ed25519
Then add your public key (the file ending in .pub) to the server. If you added an SSH key when ordering the server, this step is already done. To add one later, run this on your own computer:
ssh-copy-id root@YOUR_IP_ADDRESS
Our connection guide covers the details. Never share your private key, and protect it with a passphrase if you can.
3. Create a Separate Admin User
Doing everything as root means a small typo can affect the whole system. A separate user with sudo rights for day-to-day work is a good habit:
adduser admin
usermod -aG sudo admin
On AlmaLinux and Rocky Linux the group is called wheel rather than sudo. Next, copy your key to the new user:
mkdir -p /home/admin/.ssh
cp /root/.ssh/authorized_keys /home/admin/.ssh/
chown -R admin:admin /home/admin/.ssh
chmod 700 /home/admin/.ssh && chmod 600 /home/admin/.ssh/authorized_keys
From a new window, connect with ssh admin@YOUR_IP_ADDRESS and check that sudo whoami returns root.
4. Turn Off Password Logins
Once key-based login works, disable passwords. Rather than editing the main configuration file, create a separate file so that package updates don't conflict with your changes:
sudo nano /etc/ssh/sshd_config.d/10-hardening.conf
Add these lines:
PasswordAuthentication no
PermitRootLogin prohibit-password
The second line means root can only log in with a key. If you want to block root logins entirely, set it to no, but only after you have confirmed that your separate user can connect without problems.
Some cloud images ship another file in the same folder that turns password logins back on. SSH uses the first value it reads for each setting, and files are read in alphabetical order, so a file starting with 10- takes priority. Confirm the settings are actually in effect:
sudo sshd -t && sudo sshd -T | grep -E "passwordauthentication|permitrootlogin"
If the output shows passwordauthentication no, restart the SSH service. It is called ssh on Ubuntu and Debian and sshd on AlmaLinux and Rocky Linux:
sudo systemctl restart ssh
Then test a fresh connection from a new window before closing your current one.
5. Turn On the Firewall
A firewall only lets connections reach the ports you allow. On Ubuntu, UFW is the simplest option. Allow SSH first, then enable the firewall. Do it the other way round and you will cut off your own connection:
sudo ufw allow OpenSSH
sudo ufw allow 80/tcp
sudo ufw allow 443/tcp
sudo ufw enable
sudo ufw status
Ports 80 and 443 are for websites; skip those two lines if the server won't serve web traffic. Debian may not include UFW by default, so install it with sudo apt install ufw. AlmaLinux and Rocky Linux use firewalld instead:
sudo firewall-cmd --permanent --add-service=http --add-service=https
sudo firewall-cmd --reload
Don't expose services such as databases (3306 for MySQL, 5432 for PostgreSQL) to the internet. If your application runs on the same server, the database only needs to listen for local connections.
6. Automate Security Updates
Tracking patches by hand is easy to forget. On Ubuntu, the unattended-upgrades package installs security updates automatically and is already present on many installations. Check it and enable it if needed:
sudo apt install unattended-upgrades
sudo dpkg-reconfigure -plow unattended-upgrades
On AlmaLinux and Rocky Linux, dnf-automatic does the same job. Automatic updates may install a new kernel without rebooting, so make a habit of checking about once a month.
7. Block Repeated Login Attempts
With password logins off, scanners' attempts already fail. If you still want quieter logs, a tool like Fail2ban temporarily blocks addresses that make many failed attempts in a short time:
sudo apt install fail2ban
On Ubuntu and Debian the package comes with SSH protection enabled, and you can customise it in /etc/fail2ban/jail.local. This step is optional and matters less than key-based login and a firewall.
8. Plan Backups From Day One
Security is not only about preventing attacks. It is also about getting back on your feet when something goes wrong. Whether the cause is a broken update, an accidentally deleted folder or a compromised application, an up-to-date backup is your strongest safeguard.
- A server backup or snapshot lets you restore the whole system to an earlier state.
- Backing up application data separately, for example storing a database dump somewhere else, protects your data even if the server itself is lost.
You only know a backup works once you have restored it. Try a restore on a test server every now and then.
Quick Checklist
| Step | Why it matters | Priority |
|---|---|---|
| Update the system | Closes known vulnerabilities | Right away |
| SSH key login | Makes password guessing useless | Right away |
| Disable password logins | Stops brute-force attempts | First hour |
| Firewall | Closes ports you don't need | First hour |
| Automatic security updates | Keeps new patches coming | First day |
| Fail2ban | Blocks repeated attempts | Optional |
| Backups and snapshots | Make recovery possible | First day |
Common Mistakes
Enabling the firewall before allowing SSH. This is the most common way people lock themselves out. Make sure you run ufw allow OpenSSH before ufw enable.
Treating a changed SSH port as real protection. Moving SSH off port 22 can reduce noise in your logs, but it is not real protection. Key-based login is what actually keeps attackers out.
Copying your private key to the server. Only the public key (.pub) belongs on the server. The private key stays on your own computer.
Forgetting the server after setup. Security is not a one-off task. Remove software you don't use, keep an eye on updates and review who has access from time to time.
Frequently Asked Questions
How Long Do These Steps Take?
If you are comfortable with the command line, about half an hour. If it is your first time, take it slowly. Checking your connection after each step matters more than speed.
What If I Can No Longer Connect to the Server?
If your old session is still open, undo the change from there. If not, your options depend on your provider, such as restoring from a backup or snapshot or reinstalling the server. That is why taking a snapshot before major changes makes life much easier. If you get stuck, contact our support team.
I Only Host a Website. Do I Still Need This?
Yes. A server running a website gets scanned like any other. The site software itself, such as your content management system and its plugins, also needs regular updates.
Do I Need to Repeat These Steps on Every New Server?
Yes, every new server starts from a clean image. If you create servers often, collecting the commands in a script saves time and lowers the risk of skipping a step. Test the script on a throwaway server first.
Conclusion
On a new server, start by installing updates, switching to SSH key login, turning off password logins and enabling the firewall. Automatic security updates and regular backups complete the foundation. These steps won't stop every possible attack, but they take your server off the list of easy targets for the automated attempts that hit every address on the internet.
At Karakaş Digital you can manage your cloud servers from one control panel, including SSH keys, automatic backups and snapshots. See our cloud servers page for plans, or browse our frequently asked questions.